
Have you ever encountered a “404 Page Not Found” error while browsing the internet? It’s a common occurrence when a web server can’t find the requested page. But did you know that you can personalize this error page to match your website’s branding and design? In this tutorial, we’ll walk you through the process of creating a custom 404 error template page in Django, complete with a practical example.
Why Create a Custom 404 Error Page?
When a user visits a page that doesn’t exist on your website, Django’s default behavior is to display a generic 404 error page. While this serves its purpose, a custom error page can enhance the user experience by providing consistent branding, helpful navigation links, and even a touch of humor. This small effort can turn a frustrating experience into a positive interaction and keep users engaged with your site.
Step 1: Setting Up Your Django Project
Assuming you have a Django project already set up, let’s proceed to create a custom 404 error page:
Step 2: Creating the Custom 404 Template
- In your Django project, navigate to the
templatesdirectory. If it doesn’t exist, create it within your app’s main directory. - Inside the
templatesdirectory, create a file named404.html. This file will contain the content of your custom 404 error page.
Step 3: Designing Your Custom 404 Error Page
Now comes the creative part – designing your custom error page. You can use HTML, CSS, and even JavaScript to craft a visually appealing and user-friendly error page. Here’s an example of what your 404.html file might look like:
<!DOCTYPE html>
<html lang="en">
<head>
    <meta charset="UTF-8">
    <meta name="viewport" content="width=device-width, initial-scale=1.0">
    <title>Page Not Found</title>
    <style>
        /* Your custom CSS styles go here */
        body {
            font-family: Arial, sans-serif;
            background-color: #f3f3f3;
        }
        .container {
            text-align: center;
            padding: 100px;
        }
        h1 {
            font-size: 48px;
            color: #ff5733;
        }
        p {
            font-size: 18px;
            color: #555;
        }
    </style>
</head>
<body>
    <div class="container">
        <h1>Oops! Page Not Found</h1>
        <p>The page you're looking for doesn't exist. Let's get you back on track:</p>
        <a href="/" style="text-decoration: none; color: #ff5733;">Go to Homepage</a>
    </div>
</body>
</html>
Feel free to modify the styles, content, and layout according to your website’s design guidelines.
Step 4: Custom 404 View for Django handler404
Create a new view in one of your app’s views files. For example, if your app is named yourapp, you can create a view function in views.py:
from django.shortcuts import render

def custom_404(request, exception):
    return render(request, '404.html', status=404)
Replace 'yourapp' with the actual name of your app.
Step 5: Updating Django Settings
To tell Django to use your custom 404 error page, you need to update the handler404 view in your project’s urls.py file.
- Open your project’s
urls.pyfile. - Add the following line to your URL patterns, before the
urlpatternslist:
from django.conf.urls import handler404

handler404 = 'yourapp.views.custom_404'NOTE: If your project is running in DEBUG mode, then you will not see the page, you need to update Debug Mode and ALLOWED_HOST in settings.py file, like bellow:
DEBUG = False

ALLOWED_HOSTS = ['*']
Step 5: Testing Your Custom 404 Error Page
Now that you’ve set up your custom 404 error page, it’s time to test it:
- Start your Django development server.
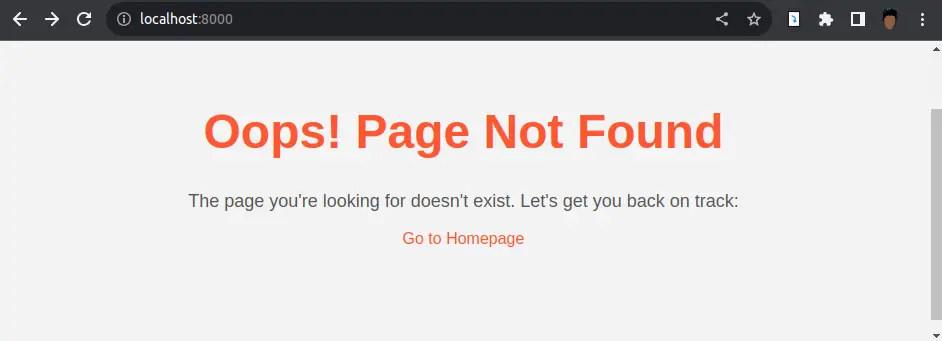
- In your browser, enter a non-existent URL on your website (e.g.,
http://localhost:8000/nonexistent). - You should now see your beautifully designed custom 404 error page, complete with your branding and helpful links.
Conclusion
Creating a custom 404 error page in Django is a small but impactful way to improve user experience on your website. By designing a page that aligns with your brand and provides useful information, you can turn a potentially frustrating experience into a positive interaction. With this step-by-step guide and example, you have all the tools you need to create a user-friendly client error responses page.
Find this tutorial on Github.
Blogs You Might Like to Read!
- How to Use a Custom 500 Error Template in Django
- Mastering Django Templates: Guide with Examples
- Folder and File Structure for Django Templates: Best Practices
- Django Bootstrap – Integrate Template Example
- Django Crispy Forms and Bootstrap 5
- Best Folder and Directory Structure for a Django Project
- Django Rest Framework Tutorials