
reCAPTCHA is a popular tool used to protect websites from spam and abuse by ensuring that interactions on your website are performed by humans, not bots. Integrating reCAPTCHA into your Django web application can help improve the security and user experience of your site. In this blog post, we’ll walk you through the process of adding reCAPTCHA to a Django project, complete with a practical example.
Prerequisites
Before we dive into the implementation, make sure you have the following prerequisites:
- A Django project up and running.
- Python installed on your development environment.
- A Google reCAPTCHA API key pair (site key and secret key). You can obtain these keys by visiting the reCAPTCHA website.
Get ReCaptcha
- Register site recapatcha on google account – https://www.google.com/recaptcha/admin/create
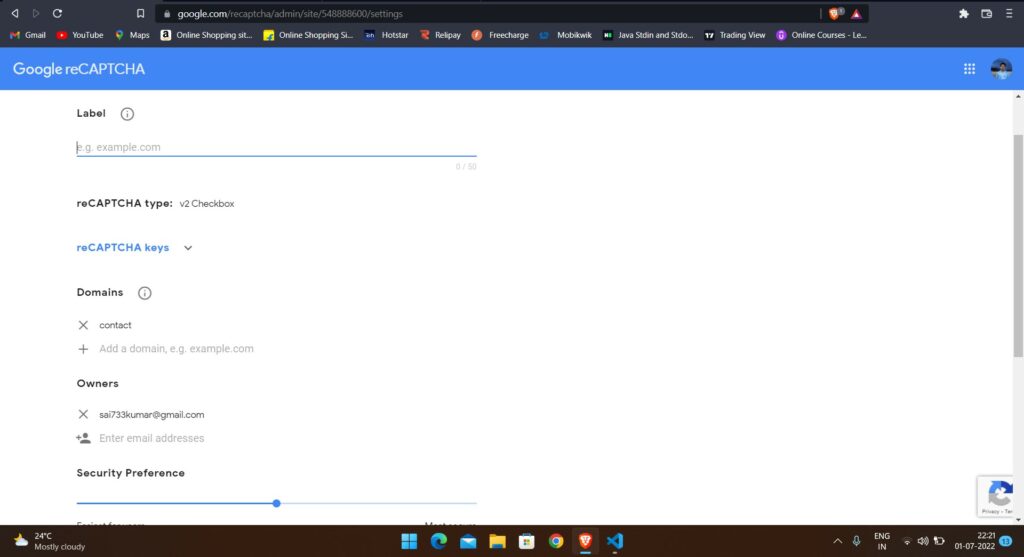
- Put label as random like”Django_recaptcha”
- You can specify whichever reCaptcha type you want, here we have selected v2 with ” I’m not a robot tickbox ”
- In the domains section add Local host Domain –
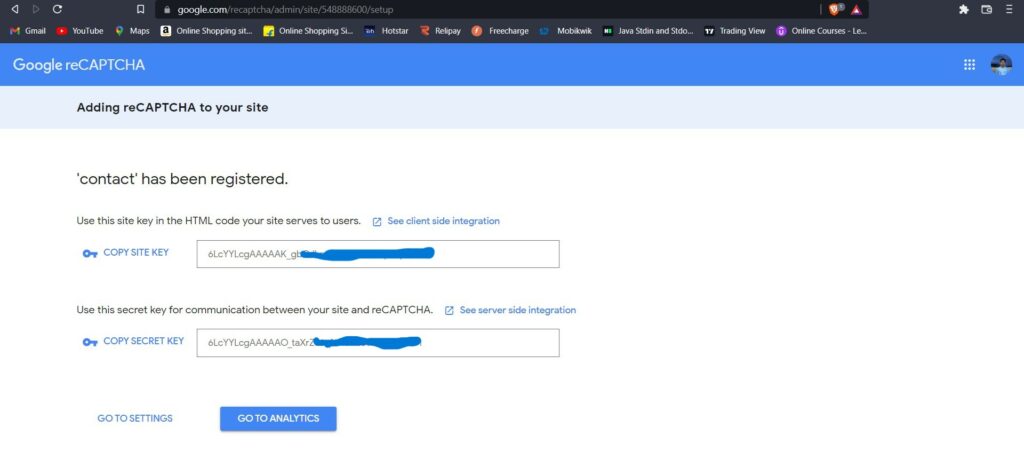
127.0.0.1 - On Clicking on submit button Some api keys shown as shown in below screenshot Copy those
Step 1: Install the django-recaptcha Package
To simplify the integration of reCAPTCHA in your Django project, you can use the django-recaptcha package. Install it using pip:
pip install django-recaptchaStep 2: Add captcha to Your Django Application
In your Django project settings (usually found in settings.py), add 'captcha' to the INSTALLED_APPS list:
INSTALLED_APPS = [
    # ...
    'captcha',
    # ...
]
Step 3: Configure reCAPTCHA Settings
Still in your settings.py file, add your reCAPTCHA site key and secret key:
RECAPTCHA_PUBLIC_KEY = 'your_site_key'
RECAPTCHA_PRIVATE_KEY = 'your_secret_key'
Replace 'your_site_key' and 'your_secret_key' with the actual keys you obtained from the reCAPTCHA website.
Step 4: Apply Migrations
Run the following command to apply the database migrations for the captcha app:
python manage.py migrateStep 5: Include reCAPTCHA in Your Form
Suppose you want to add reCAPTCHA to a Django form, such as a contact form. Here’s an example of how to do it:
from django import forms
from captcha.fields import ReCaptchaField

class ContactForm(forms.Form):
    name = forms.CharField(max_length=100)
    email = forms.EmailField()
    message = forms.CharField(widget=forms.Textarea)
    captcha = ReCaptchaField()
In this example, we’ve imported the ReCaptchaField from captcha.fields and added it to the form as the captcha field.
Step 6: Render the reCAPTCHA Widget in Your Template
To display the reCAPTCHA widget in your form template, use the field template tag for the captcha field. For example:
<form method="post">
    {% csrf_token %}
    {{ form.as_p }}
    <button type="submit">Submit</button>
</form>
This code will render the reCAPTCHA widget along with the other form fields.
Step 7: Verify reCAPTCHA in Your View
In your view function, you’ll need to verify the reCAPTCHA response. Here’s an example of how to do it:
from django.shortcuts import render
from django.http import HttpResponse
from captcha.models import CaptchaStore
from captcha.helpers import captcha_image_url
import json

def contact_view(request):
    if request.method == 'POST':
        form = ContactForm(request.POST)
        if form.is_valid():
            # Validate the reCAPTCHA
            captcha_response = request.POST.get('g-recaptcha-response')
            captcha_id = request.POST.get('captcha_0')
            captcha = CaptchaStore.objects.get(id=captcha_id)
            if captcha.response == captcha_response:
                # Captcha is valid
                # Your processing logic here
                return HttpResponse("Form submitted successfully!")
            else:
                form.add_error(None, 'reCAPTCHA verification failed.')
    else:
        form = ContactForm()

    return render(request, 'contact.html', {'form': form})
In this example, we first check if the form is valid. If it is, we then validate the reCAPTCHA by comparing the response from the form with the stored response. If they match, the form submission is considered valid.
Step 8: Display Error Messages
If the reCAPTCHA validation fails, you can display an error message to the user by checking for errors in the form object in your template.
{% if form.errors %}
    <div class="alert alert-danger">
        <strong>Error:</strong>
        {% for field, error in form.errors.items %}
            {{ error }}
        {% endfor %}
    </div>
{% endif %}
Conclusion
Integrating reCAPTCHA into your Django application is an effective way to prevent spam and abuse. By following the steps outlined in this blog post, you can easily add rCAPTCHA to your forms and enhance the security of your website. Remember to keep your reCAPTCHA keys secure and regularly monitor your site for any unusual activity.