
Creating user authentication functionality is a fundamental part of many web applications. Django, a powerful Python web framework, makes it relatively straightforward to implement user registration, login, and logout features. In this tutorial, we’ll walk you through the process step by step with proper examples.
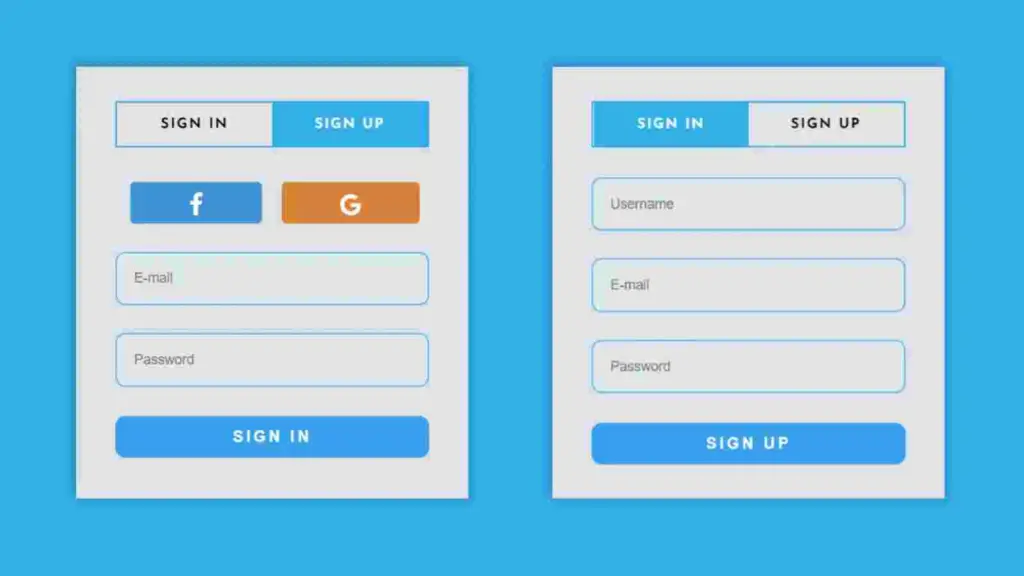
Table of contents
Prerequisites
Before you begin, make sure you have the following installed:
- Python: You’ll need Python installed on your system. You can download it from python.org if it’s not already installed.
- Django: Install Django using pip by running the following command:
pip install django
Now that you have the prerequisites in place, let’s dive into creating a Django project with user authentication.
Basic Django Project Setup
Step 1 – Create a Django Project: First, create a new Django project using the following command:
django-admin startproject projectnameReplace projectname with the desired name for your project.
Step 2 – Create a Django App: Next, create a Django app within your project:
cd projectname
python manage.py startapp appname
Replace appname with the name you want to give to your app.
Step 3 – Configure Settings: Open the settings.py file located in your project’s directory and add your app to the INSTALLED_APPS list. Also, make sure the django.contrib.auth and django.contrib.sessions apps are included:
INSTALLED_APPS = [
    # ...
    'django.contrib.auth',
    'django.contrib.sessions',
    'appname',  # Replace with your app's name
    # ...
]
Step 4 – Migrate to Database:
python manage.py makemigrations
python manage.py migrate
Note: This implementation, can be also used with other databases like MySQL and Postgres. Read more about how to Configure and Connect MySQL and Postgres.
Step 5 -Create Base Templates: Within your app, create a folder named templates and inside it base.html, which we will use to inherit in other html files.
Here’s an example of a basic base.html template in Django, which you can use as a starting point for your project’s base template:
<!DOCTYPE html>
<html lang="en">

<head>
    <meta charset="UTF-8">
    <meta http-equiv="X-UA-Compatible" content="IE=edge">
    <meta name="viewport" content="width=device-width, initial-scale=1.0">
    <title>{% block title %}Your Website Title{% endblock %}</title>
    <!-- Add your CSS and JavaScript links here -->
</head>

<body>

    <main>
        {% block content %}
        {% endblock %}
    </main>

    <footer>
        <!-- Add your footer content here -->
    </footer>
</body>

</html>
Step 6 – Create Home View, template and Url: In your app views.py create a home view, which will our homepage.
from django.shortcuts import render

def home(request):
    return render(request, 'home.html')
Now in your app templates folder create home.html.
{% extends "base.html" %}

{% block content %}
  <h2>Welcome to Django App</h2>
{% endblock %}
Then create urls.py file in your app, and add the path for home view
from django.urls import path
from . import views

urlpatterns = [
    path('', views.home, name='home'),
]
And Finally, create add the app urls in your projectname/urls.py
from django.contrib import admin
from django.urls import path, include

urlpatterns = [
    path('admin/', admin.site.urls),
    path('', include('myapp.urls')),
]
Implement User Signup Register
Lets create a view, form, url and template for user registration functionality in your app.
Django provides a built-in user model. However, if you need custom user fields, you can create a custom user model. In your app’s models.py file, create a custom user model by extending User Model.
- AbstractUser: Use when you want to add simple fields to the User model, preserving default authentication and admin functionality.
- AbstractBaseUser: Use when you need full control over authentication logic, and want to customize User fields extensively.
- One-to-One Link: Use when you want to keep the default User model intact but add separate custom fields in a related model.
- Proxy Model: Use when you want to add methods or properties to the existing User model without changing the database structure.
Learn more about Extending the Django User Model: Exploring Various Approaches
Note: For this example, we have not extended user model. But you can extend and use this blog as it is (same implmentation)
Step 1 – Create Register Form: First, create a custom registration form in your forms.py file within your app:
from django import forms
from django.contrib.auth.models import User
from django.contrib.auth.forms import UserCreationForm

class CustomUserCreationForm(UserCreationForm):
    first_name = forms.CharField(max_length=30, required=True, help_text='Required. Enter your first name.')
    last_name = forms.CharField(max_length=30, required=True, help_text='Required. Enter your last name.')

    class Meta:
        model = User
        fields = [
            'username',
            'first_name',
            'last_name',
            'email',
            'password1',
            'password2',
        ]
In this example, we’ve created a form CustomUserCreationForm that inherits from UserCreationForm and adds fields for first_name, last_name, etc. You can add or remove fields as per your need.
Step 2 – Create Singup View: Now, let’s create a view for user registration. In your app’s views.py file, add the following code:
from django.contrib.auth import login, authenticate
from django.shortcuts import render, redirect
from .forms import CustomUserCreationForm  # Import your custom form

def signup(request):
    if request.method == 'POST':
        form = CustomUserCreationForm(request.POST)
        if form.is_valid():
            user = form.save()
            username = form.cleaned_data.get('username')
            password = form.cleaned_data.get('password1')
            user = authenticate(username=username, password=password)
            login(request, user)
            return redirect('home')  # Replace 'home' with the URL name of your home page
    else:
        form = CustomUserCreationForm()
    return render(request, 'signup.html', {'form': form})
Step 3 – Create Signup Template: Inside templates folder, create a file named signup.html. This is where you can customize your registration form.
{% extends "base.html" %}

{% block content %}
  <h2>Sign up</h2>
  <form method="post">
    {% csrf_token %}
    {{ form.as_p }}
    <button type="submit">Sign up</button>
  </form>
{% endblock %}
Step 7 – Define URLs: In your app’s urls.py file, define the URLs for registration
from django.urls import path
from . import views

urlpatterns = [
    path('', views.home, name='home'),
    path('signup/', views.signup, name='signup'),
]
Read our Blog on Send User Verification and Welcome Email using Django Signals
Implement User Login and Logout
Lets create a view, form, url and template for user login and logout functionality in your app.
Step 1 – Login View : In your app’s views.py file, create a view for the login functionality:
from django.contrib.auth.forms import AuthenticationForm
from django.contrib.auth import login, authenticate
from django.shortcuts import render, redirect

def user_login(request):
    if request.method == 'POST':
        form = AuthenticationForm(request, request.POST)
        if form.is_valid():
            username = form.cleaned_data.get('username')
            password = form.cleaned_data.get('password')
            user = authenticate(request, username=username, password=password)
            if user is not None:
                login(request, user)
                return redirect('home')  # Replace 'home' with the URL name of your home page
    else:
        form = AuthenticationForm()
    return render(request, 'login.html', {'form': form})
Step 2 – Login Template: Inside templates folder, create a file named login.html.
{% extends "base.html" %}

{% block title %}Login{% endblock %}

{% block content %}
  <h2>Login</h2>
  <form method="post">
    {% csrf_token %}
    {{ form.as_p }}
    <button type="submit">Login</button>
  </form>
  <p>Don't have an account? <a href="{% url 'signup' %}">Sign up</a></p>
{% endblock %}
Step 3 – Login and Logout Urls: In your app’s urls.py file, define the URLs for login and logout views:
from django.urls import path
from . import views
from django.contrib.auth import views as auth_views

urlpatterns = [
    path('', views.home, name='home'),
    path('signup/', views.signup, name='signup'),
    path('login/', views.user_login, name='login'),  # Custom login view
    path('logout/', auth_views.LogoutView.as_view(), name='logout'),  # Django's built-in logout view
]
Final Finishing and Running Project
Now that we have created our Login, Logout and Registeration functionality, lets create linking and redirecting urls
In your base.html, add the header for navigation bellow the <body> tag.
<header>
        {% if user.is_authenticated %}
        <p>Welcome, {{ user.username }}! <a href="{% url 'logout' %}">Logout</a></p>
        {% else %}
        <p><a href="{% url 'login' %}">Login</a> | <a href="{% url 'signup' %}">Sign up</a></p>
        {% endif %}
</header>
And add the login and logout redirect urls in projectname/settings.py file
LOGIN_REDIRECT_URL = '/login/'
LOGOUT_REDIRECT_URL = '/'
Finally, start the development server:
python manage.py runserverYou can now access your application at http://localhost:8000/ and navigate to the registration page to sign up, and subsequently, you can add login and logout functionality as needed.
Conclusion
Congratulations! You’ve successfully implemented user registration, login, and logout functionality in Django. You can further customize and enhance these features to meet your specific project requirements.
Find this project on Github.
Read Next: Implement Change and Forgot Password Functionality in Django
Read Next: Login with OTP via Email/Phone in Django
Blogs You Might Like to Read!
- Folder and Directory Structure for Django Project: Best Practices
- Django Best Practices for Building Robust Web Applications
- How To Send Email in Django and DRF
- How to use Login Required in Django: Restrict View Access
- Django User Registration with Email Confirmation
- How to Create RBAC in Django with Multiple Users Types