
In today’s interconnected world, it’s common to develop web applications using Django and want to access them from multiple devices within your local WiFi network. Whether you want to showcase your work to colleagues, test your web app on various devices, or simply enjoy the flexibility of accessing your Django website from different gadgets, setting up WiFi LAN access is a convenient solution. In this blog, we will guide you through the process of accessing your Django website over WiFi LAN and connecting devices.
Prerequisites
Before we dive into the steps, make sure you have the following prerequisites:
- A Django web application already developed and running on your local machine.
- A stable WiFi LAN network that all your devices can connect to.
- Basic knowledge of Django and your computer’s network settings.
Step 1: Find Your Local IP Address
To access your Django website over WiFi LAN, you’ll need to find your computer’s local IP address. Open a terminal/command prompt and run the following command:
ipconfig # On Windowsip r # On macOS or Linux
# OR
ifconfig # On macOS or LinuxLook for an entry labeled “IPv4 Address” or “inet” (typically under your WiFi adapter). This is your computer’s local IP address, and it will look something like 192.168.1.X or 10.0.0.X.
Step 2: Configure Django Settings
Next, you’ll need to configure your Django project to allow connections from devices on your LAN. Open your project’s settings.py file and locate the ALLOWED_HOSTS setting. Add your local IP address and the hostname you plan to use (e.g., '192.168.1.X', 'yourhostname.local') to the list of allowed hosts.
# settings.py

ALLOWED_HOSTS = ['localhost', '127.0.0.1', '192.168.1.X', 'yourhostname.local']
Step 3: Run the Django Development Server
Start your Django development server as you normally would:
python manage.py runserverBy default, the server will run on 127.0.0.1 (localhost), which means it can only be accessed locally. To make it accessible from other devices, you need to specify the IP address and port to bind to explicitly. Run the following command to bind the server to your local IP address and a port of your choice (e.g., 8000):
python manage.py runserver 192.168.1.X:8000Step 4: Access Django Website from Other Devices
Now, you should be able to access your Django website from other devices on the same WiFi LAN. Open a web browser on any device and enter your computer’s local IP address and the chosen port in the address bar:
http://192.168.1.X:8000Replace 192.168.1.X with your computer’s local IP address and 8000 with the port you selected when starting the server.
Step 5: Firewall and Security Considerations
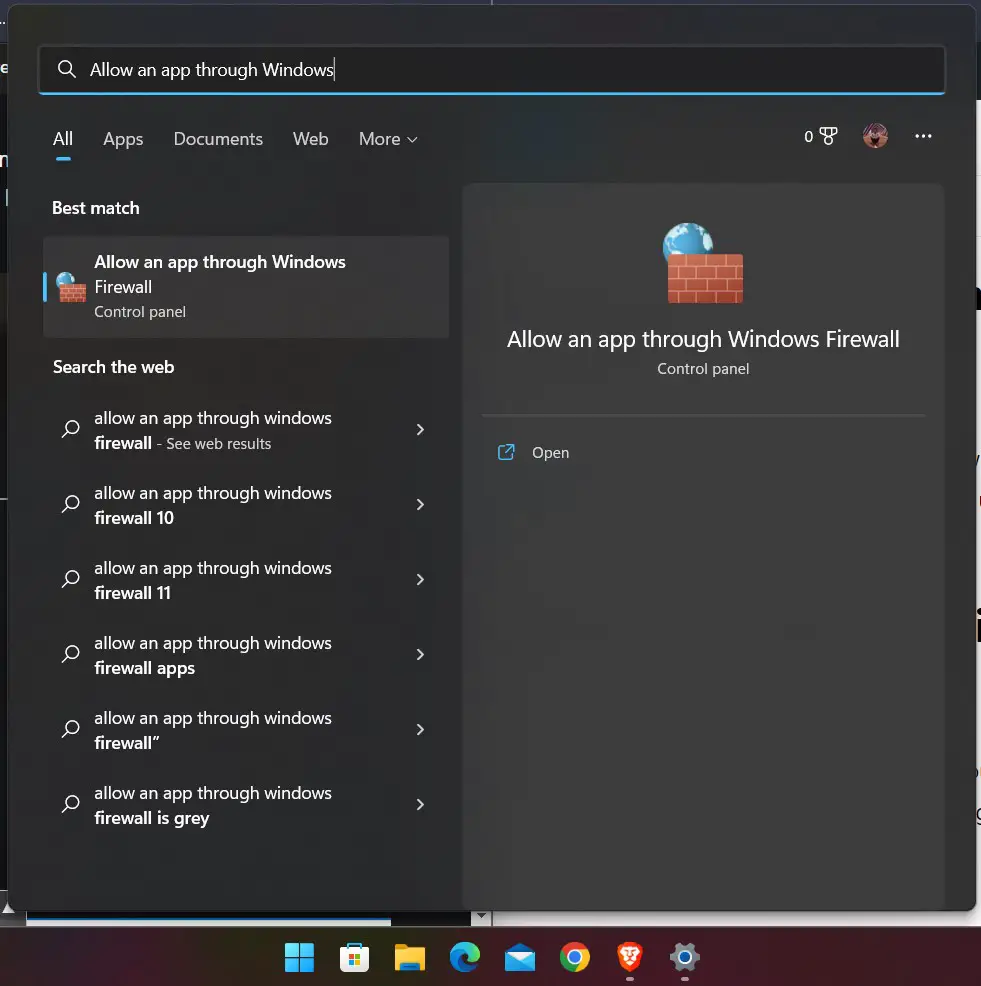
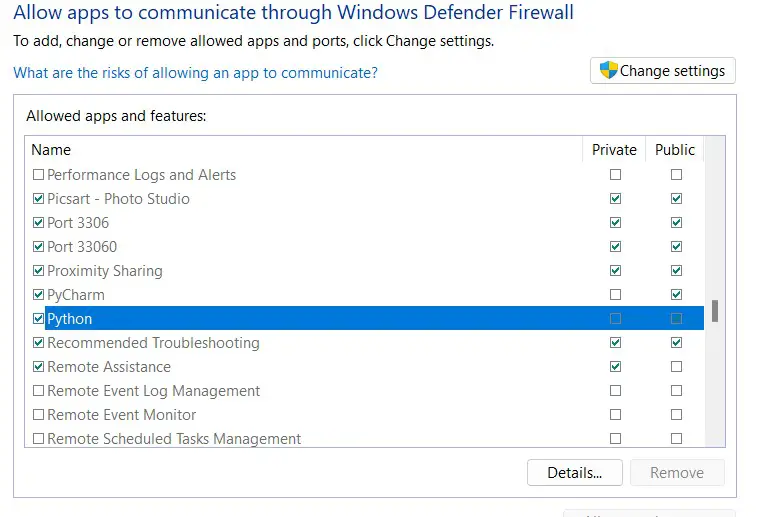
Depending on your computer’s operating system and firewall settings, you may need to allow incoming connections to your Django server. Check your firewall settings and create a rule to allow incoming traffic on the specified port (e.g., 8000).
Note: Be cautious when exposing your development server to the network. For security reasons, it’s not recommended to use this setup in a production environment without additional security measures.
For Windows
Conclusion
With these steps, you can easily access your Django website from multiple devices over a WiFi LAN connection. This can be invaluable for testing and showcasing your web application on various devices within your network, making the development and presentation process more convenient and versatile.