
In this tutorial, you will learn how to deploy a Spring Boot Application on Digital Ocean Droplet. We will be Spring Boot with Nginx as webserver with Reverse Proxy for pointing to Domain. We will be using Lets Encrypt for making application secure with HTTPS.
Prepare Virtual Machine Server
We will be using Virtual Server for deploying our project. For this tutorial, I am using Ubuntu VM which is deployed on Digital Ocean.
Please create a VM on Digital Ocean using my referral link and get $200 credits to use over 2 months.
Please add your machine ssh key while creating the droplet. Examples to create ssh key ssh-keygen -t rsa and to view/copy ssh key – cat ~/.ssh/id_rsa.pub
Access Server
Logon to your Server like bellow, I am using Ubuntu Terminal, you can use anything like Putty, MobaXterm etc.
ssh root@SERVER_IP_ADDRESSPrerequisites Software’s
For this project, we will require following softwares
- Java Development Kit
- Apache Maven
- Nginx
Install Java Development Kit
sudo add-apt-repository ppa:linuxuprising/java -y
sudo apt update
sudo apt-get install oracle-java17-installer oracle-java17-set-default
Install Maven
sudo apt install mavenInstall Nginx Web server
sudo apt update
sudo apt install nginx
sudo ufw allow 'Nginx Full'
systemctl status nginx
Setup Project on Server
After install above software’s, please get your project on server. For this project i’m using git to pull my project which is hosted on Github. Here’s the starter project for demo purpose.
sudo apt install gitgit clone https://github.com/studygyaan/spring-boot-starter.git
Navigate to the project folder cd spring-boot-starter/ and run the project using maven.
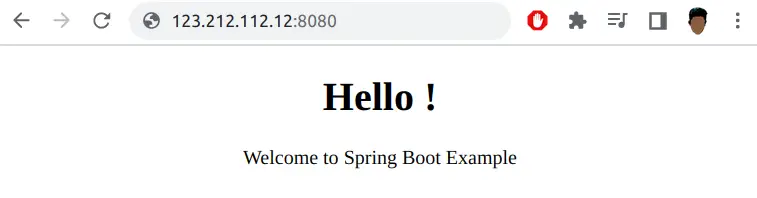
./mvnw spring-boot:runNow your project is running on port 8080, as specified in file – src/main/resources/application.properties
Now go to browser and type your server ip address with port number. Example – SERVER_IP_ADDRESS:8080
Now lets stop the project Ctrl+C and run the same project using Nginx Server.
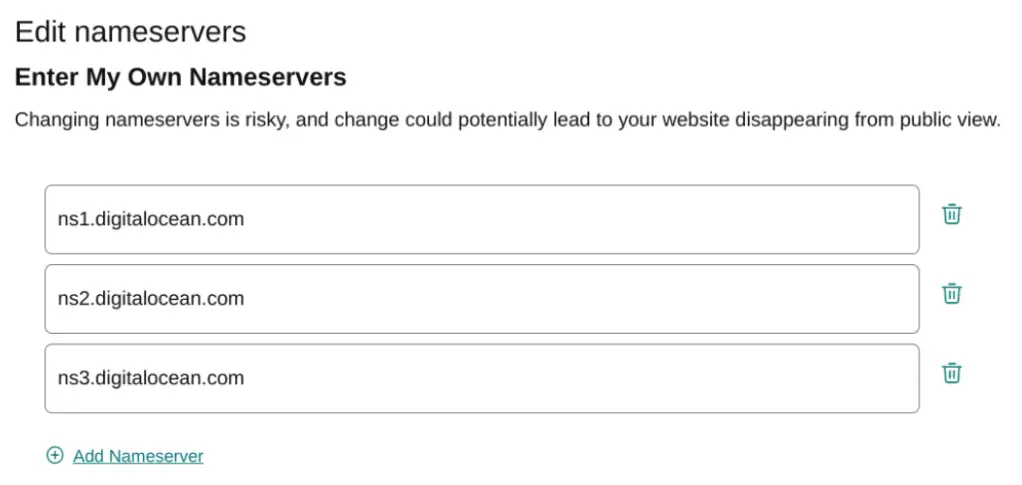
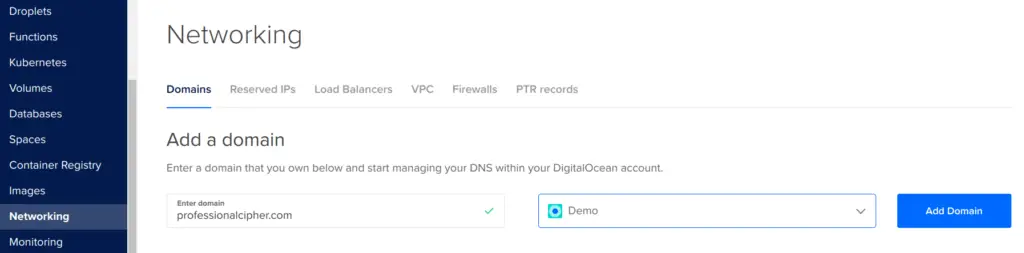
Change Nameservers and Add Domain to Digital Ocean
Before deploying project on Nginx, we need a domain. Change the Nameserver in your domain provider and add it to Digital Ocean Domain.
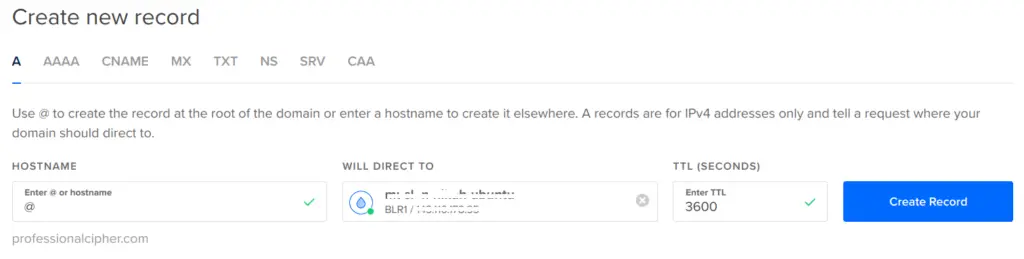
Now lets add record, which will point our domain ip address, like bellow image.
Setup Spring Boot Project using Nginx Reverse Proxy
On the server, Nginx is already installed. Create an Nginx configuration for the website with the command below. For demo purpose, we are using domain example.com. Please replace with your domain appropriately
sudo vi /etc/nginx/sites-available/example.comAnd please add bellow code inside it.
server {
    server_name example.com;
    index index.html index.htm;
    access_log /var/log/nginx/example.log;
    error_log  /var/log/nginx/example-error.log error;

    location / {
        proxy_set_header X-Forwarded-For $proxy_add_x_forwarded_for;
        proxy_set_header X-Forwarded-Proto $scheme;
        proxy_set_header X-Real-IP $remote_addr;
        proxy_set_header Host $http_host;
        proxy_pass http://127.0.0.1:8080;
        proxy_redirect off;
    }
}Note: Please replace example.com with your domain.
Now enable the website
sudo ln -s /etc/nginx/sites-available/example.com /etc/nginx/sites-enabled/example.comLet’s verify if there is no Nginx error, then reload it to take the changes into account:
sudo nginx -t
sudo nginx -s reload
Lets re-run the project – ./mvnw spring-boot:run
Navigate to you domain to see the running project.
Optional: For easy spring boot project running i have written shell script, you can find in project: startup.sh, restart.sh and shutdown.sh
For running project – sh startup.sh
For stop project – sh shutdown.sh
SpringBoot Enable HTTPS: Add SSL Certificate using Lets Enrypt
Install Certbot, which is the tool responsible for certificate generation
sudo apt install snapd
sudo snap install --classic certbot
Generate and install an SSL certificate for our domain. Please replace example.com with your domain name.
sudo certbot --nginx -d example.comReload Nginx configuration: sudo nginx -s reload and go to your website, you will see secure website.